Home
Home Order Forms
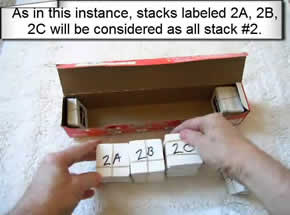
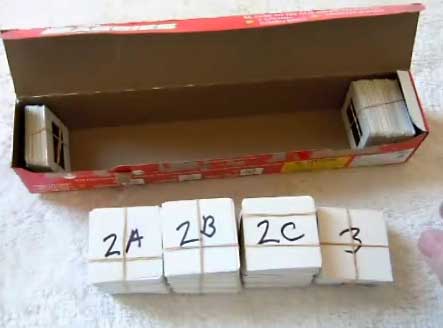
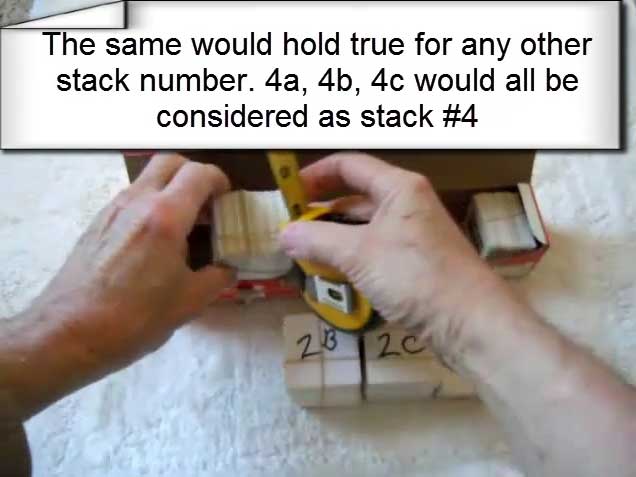
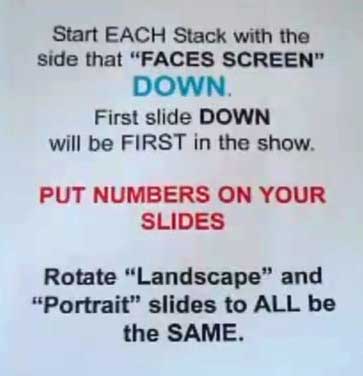
Slide Stacking “Top-Down” — Orientation & Order
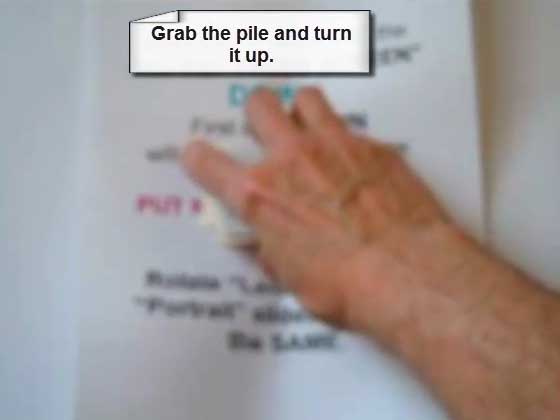
We show two ways to stack, organize, and orient your slides for scanning. This page covers the Top-Down method: start with the first slide at the bottom and build up so the slide on top is the last slide in your show or chapter.
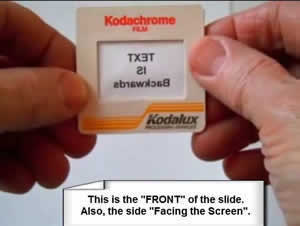
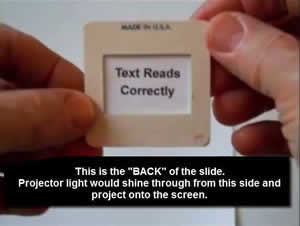
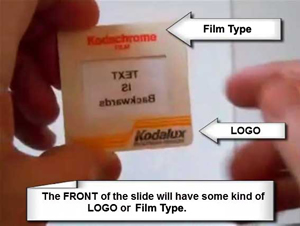
Determine Front and Back of Slides
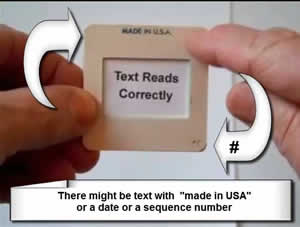
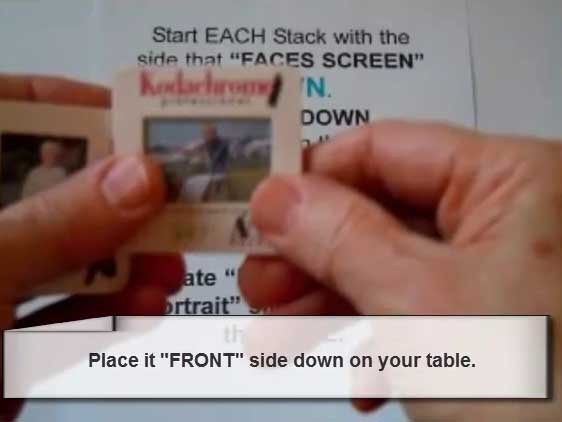
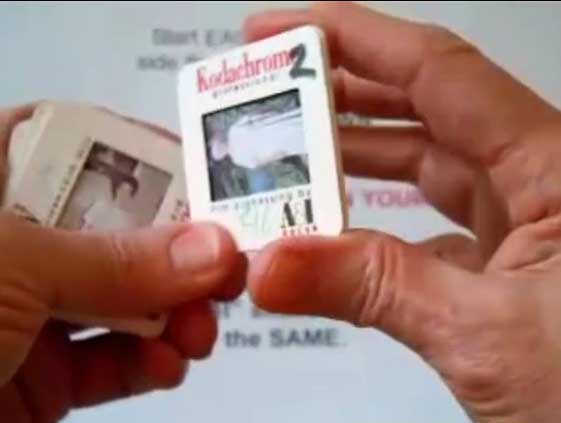
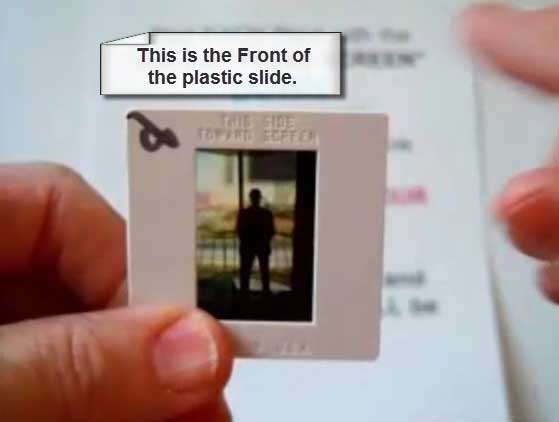
To standardize terms, the side with the manufacturer logo is the FRONT. Looking through the FRONT, text in the image will appear backwards. Looking through the BACK, text appears normal. You can mark the FRONT with an “F” if helpful. In a projector, the FRONT faces the screen; the BACK is where many people write notes.
Don’t stress about this: we ensure your final scans view correctly on TV, computer, and prints—we just need a consistent starting point.
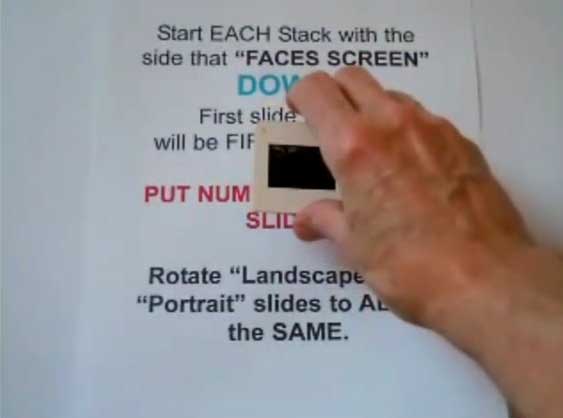
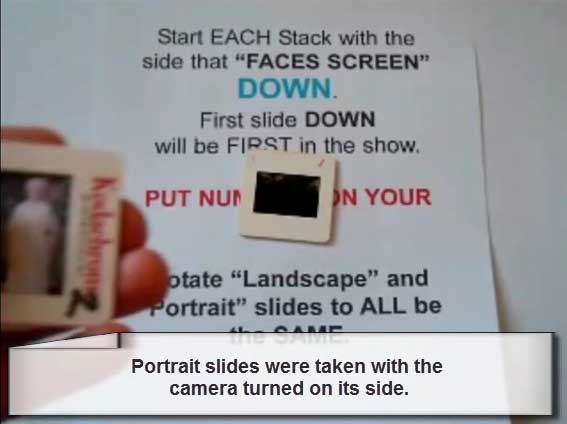
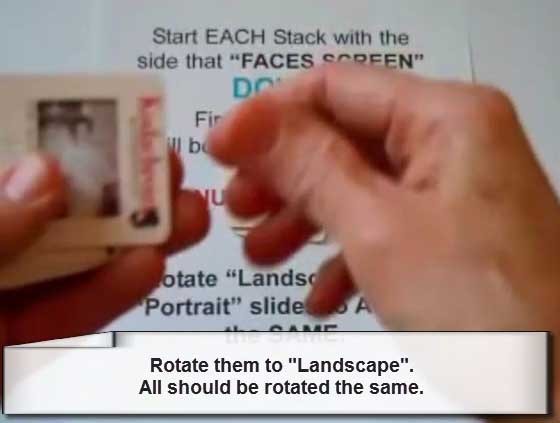
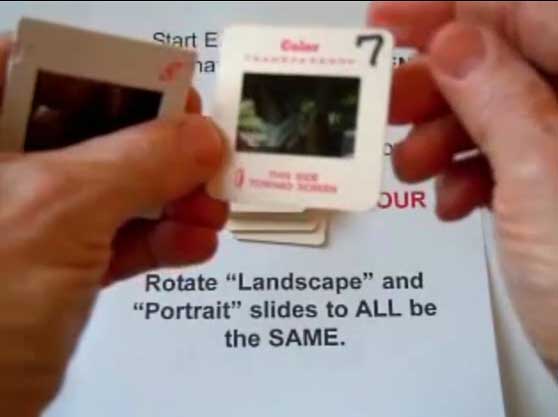
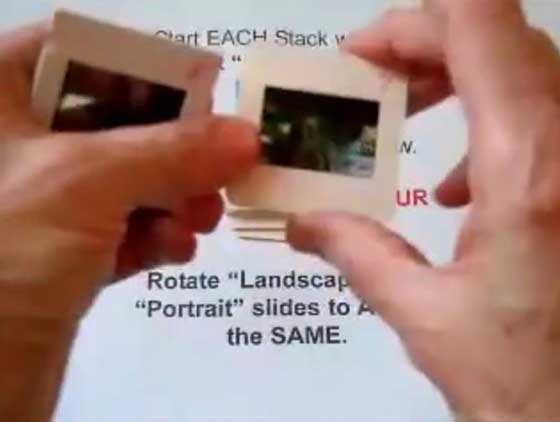
Rotate Portrait Slides to Landscape
Any slide photographed in a vertical (portrait) orientation should be rotated to landscape in your stacks. This helps scanning go smoothly. We will rotate finals for correct on-screen viewing.

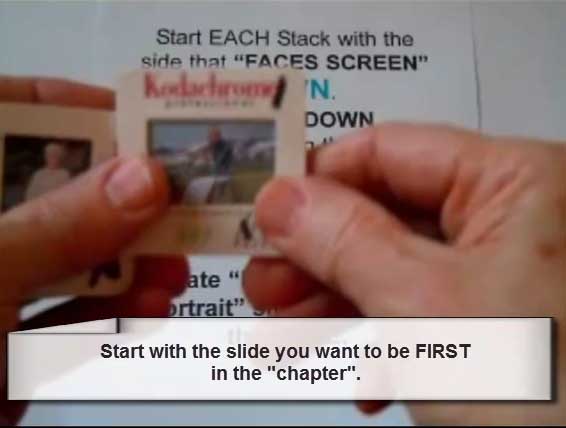

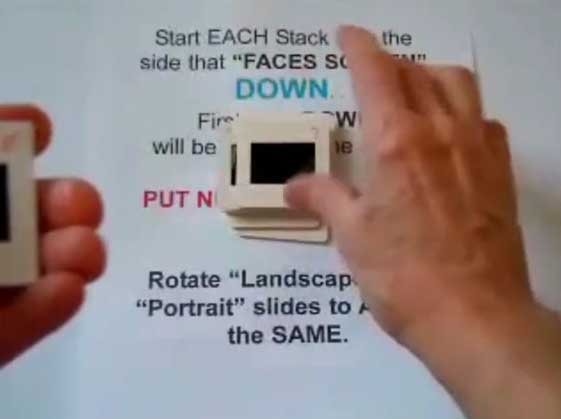
Flip slide #2 over and place it on top of slide #1 with slide #2’s bottom edge up. Continue this pattern while keeping all slides in landscape orientation within each chapter stack.

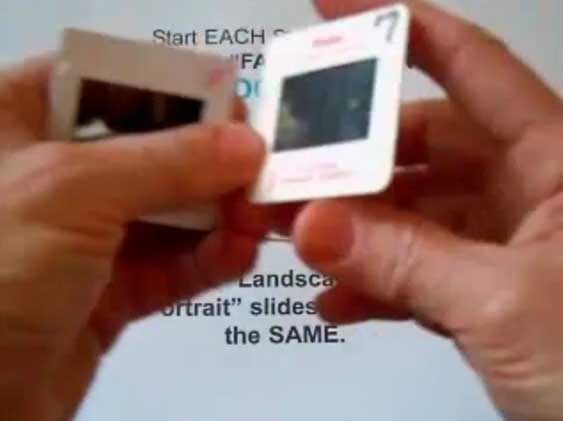
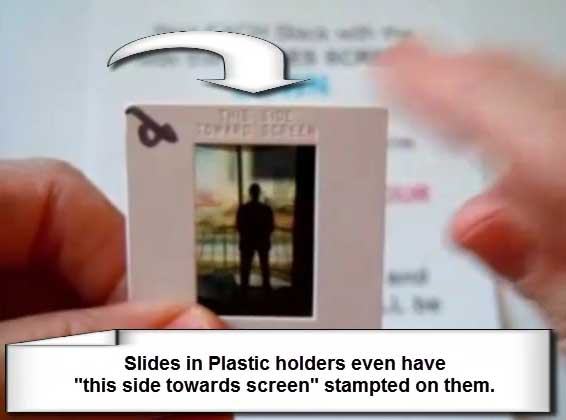
“THIS SIDE TOWARDS SCREEN” is the FRONT.
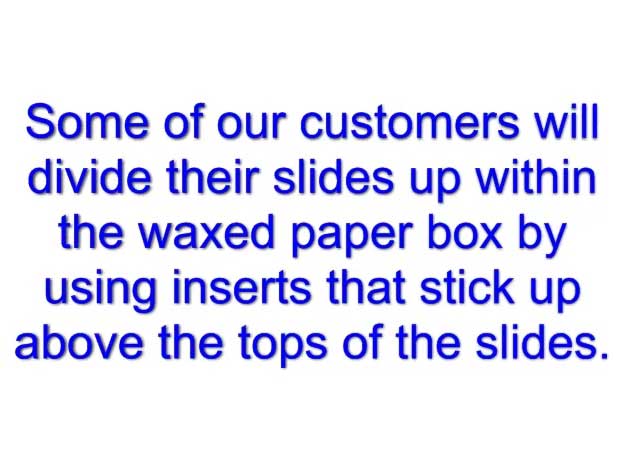
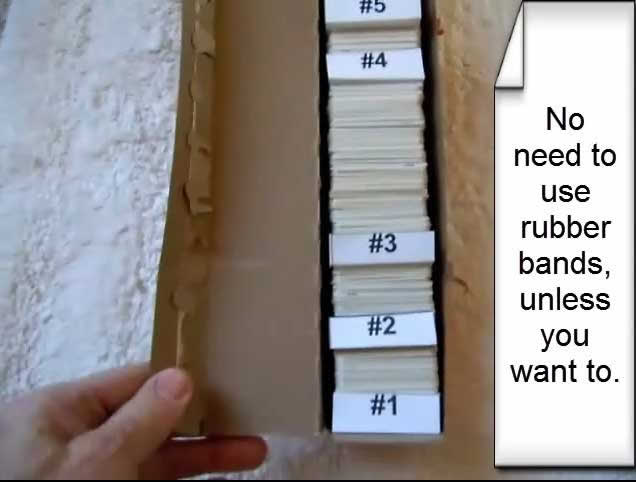
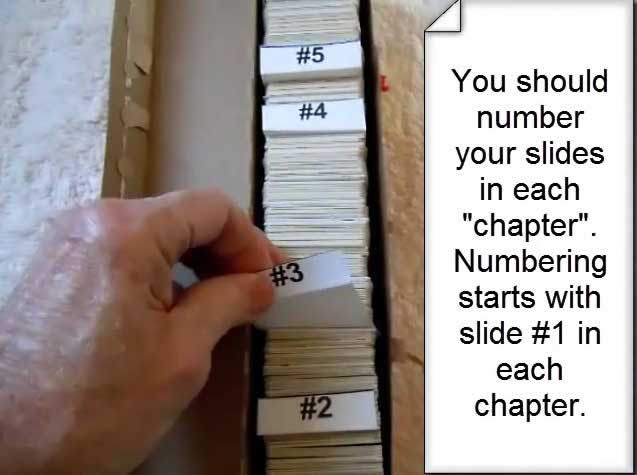
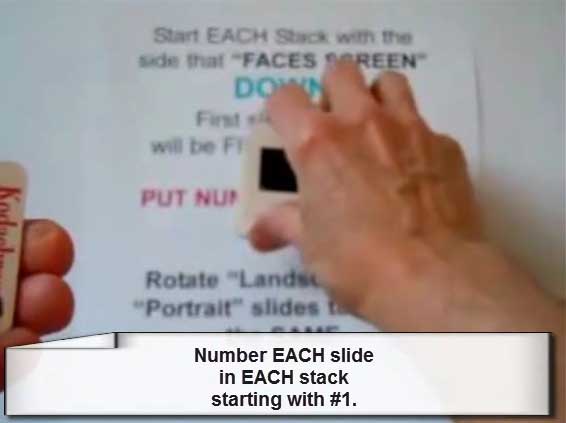
Storage & Numbering Tips
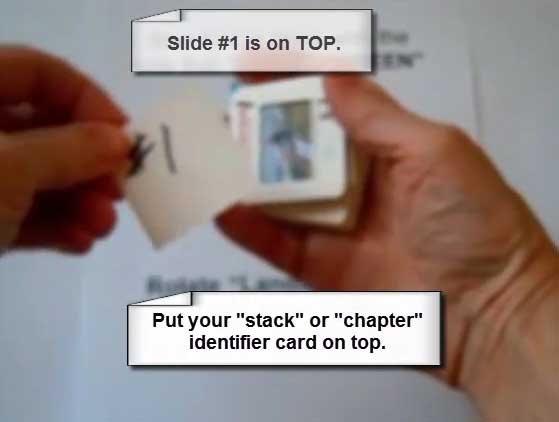
Waxed paper, aluminum foil, and plastic baggie boxes are great for keeping stacks organized. Use dividers and number each slide per chapter (restart at #1 for each chapter) so folders and filenames sort in order on your disk or flash drive.