
 Home
Home Order Forms
Bell and Howell Slide Cube Preparation
Good News: Your Slides Are Already Organized!
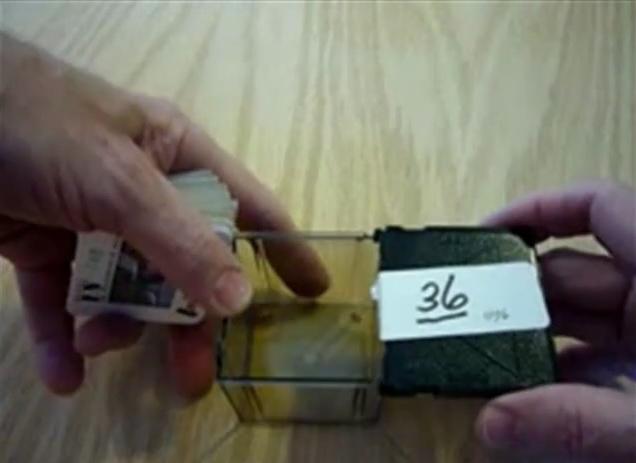
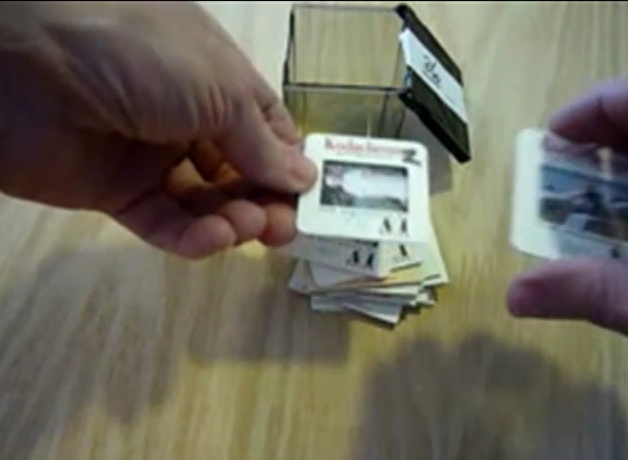
If you have Bell and Howell slide cubes, you're already most of the way done with preparation. Your slides are organized in the viewing order you want, which saves considerable time. However, there's one critical step you must complete before sending them for scanning: checking slide orientation.
The essential task: Rotate all "portrait" orientation slides so every slide is in "landscape" orientation. This prevents the tops and bottoms of vertical photos from being cropped during scanning.
Understanding Portrait vs. Landscape Orientation
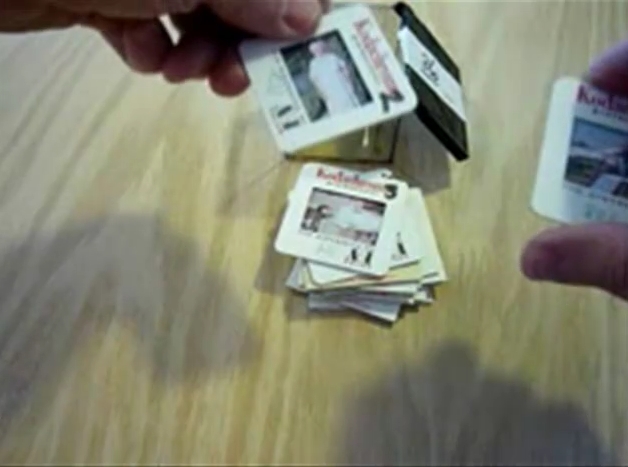
A "portrait" slide doesn't mean it contains a picture of a person. It means the photographer turned the camera sideways when taking the shot, creating a vertical image. For proper scanning without cropping, all slides must be rotated to horizontal "landscape" orientation.
Step-by-Step Visual Guide
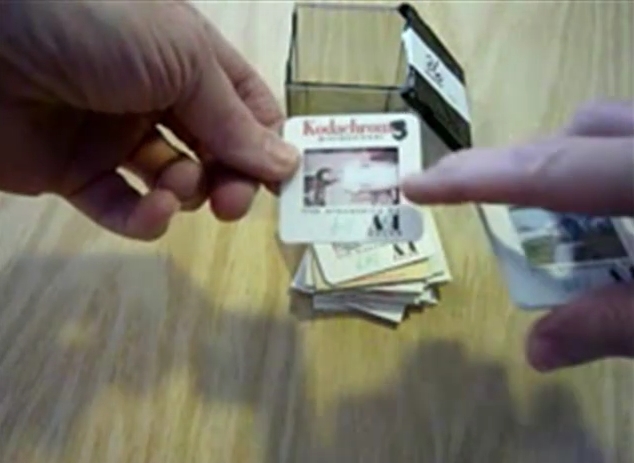
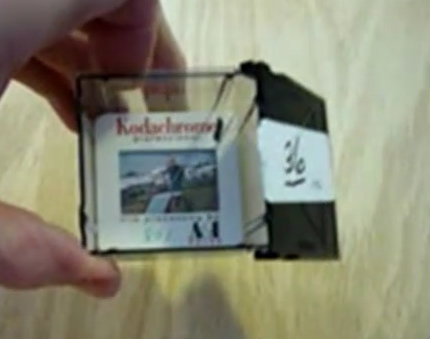
This is a "portrait" slide—not because it shows a person, but because the photographer turned the camera sideways to take the picture. These vertical shots need to be rotated to landscape orientation.
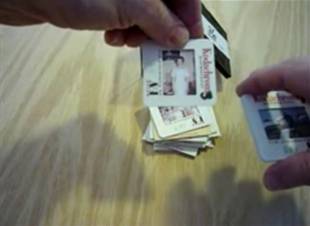
Important stacking tip: Slide number ONE should end up on top of your stack. This will be the first slide in this particular "show," "chapter," or "folder." Yes, you should number your slides—each separate stack starts with slide number ONE.
Why This Matters
Proper orientation ensures your scans capture the complete image without losing important details at the top or bottom. Taking a few extra minutes to rotate portrait slides now saves you from disappointment when you receive your scans and discover that heads or feet are cut off in vertical photos.
Need more preparation help?
Check out our other preparation guides: