Premium Photoshop Editing On Every Scan.
49¢ most slides. Expert Slide and Photo
Scanning Since 2002.
4,000 ppi Extra High Res Scanning.
We can make PRINTS from your Slides.
Personally Processed with care in Wisconsin.
 Home
Home Order Forms
We Are A 100% USA Company
With ALL Work Done in the U.S.A.
Our two offices are both in Wisconsin and we have been in the scanning slides and photos and other mediums business since 2002. When we receive your scanning project, it never leaves our possession until we send it back to you.
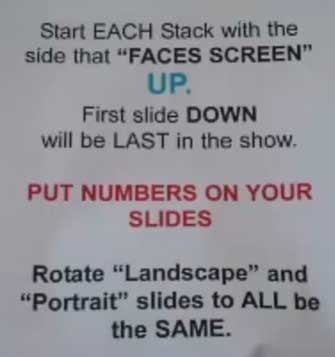
Stacking Your Slides From The Bottom UP
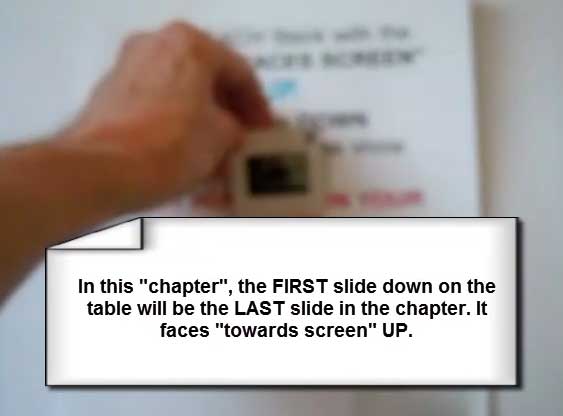
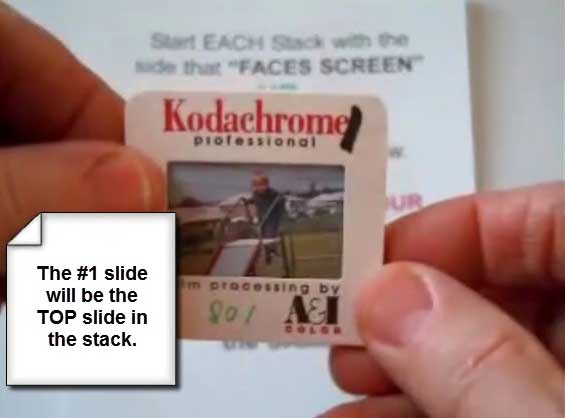
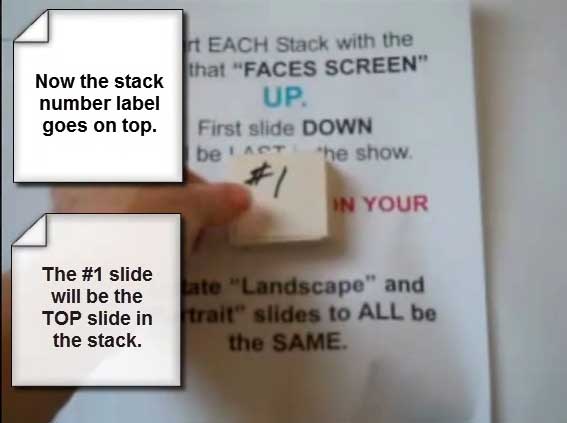
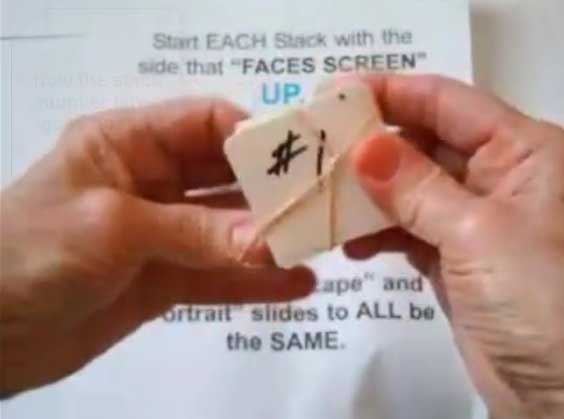
Use this guide to stack, organize, and orient your slides correctly for scanning. The bottom-up method starts with the very last slide of a chapter or show at the bottom of the stack and builds upward—the top slide becomes slide #1 of that chapter/show.
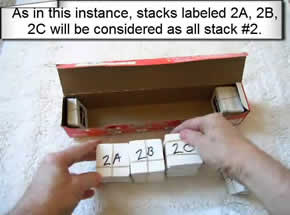
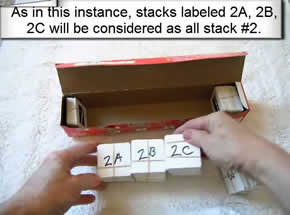
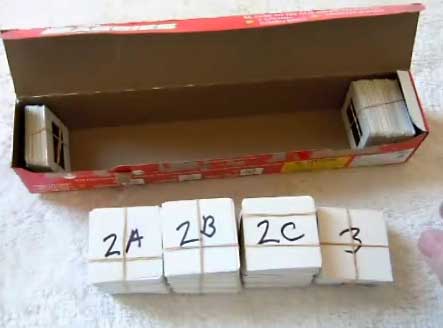
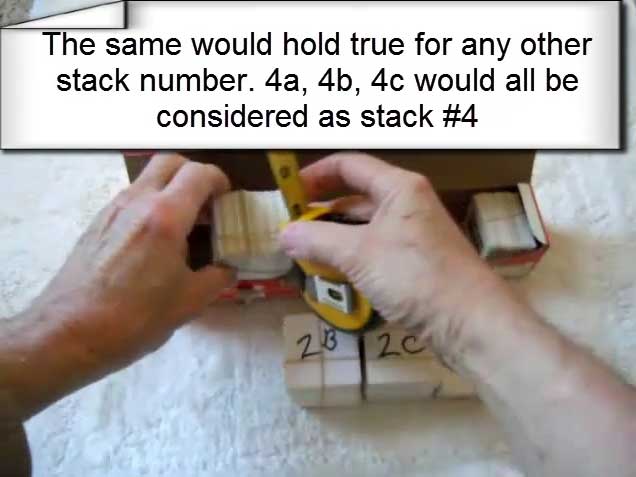
Note on folders/chapters: Each stack you prepare will become its own folder when converted to digital images.
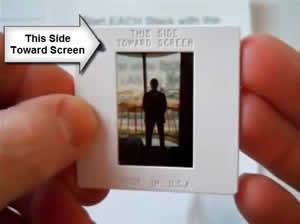
Determine Front and Back
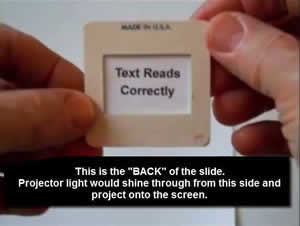
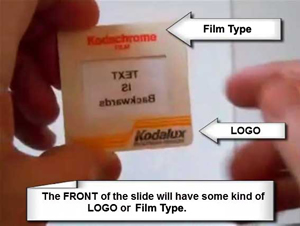
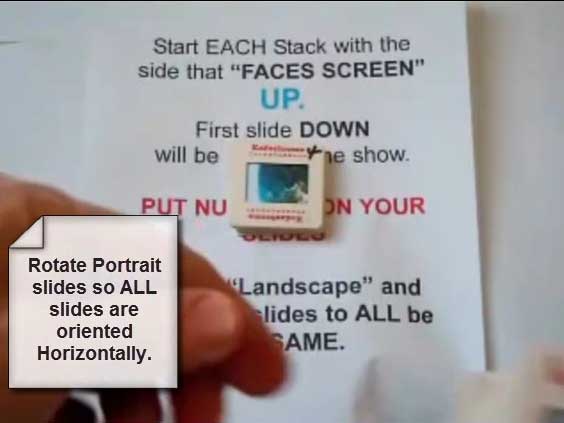
For standardization, the side with the logo is the FRONT. If you hold a slide to the light and see a sign, from the front it will read backwards; from the back it reads normally. The front faces the screen in a projector; many people write notes on the back.
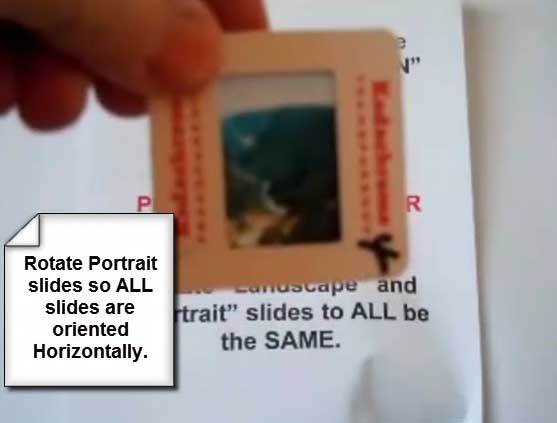
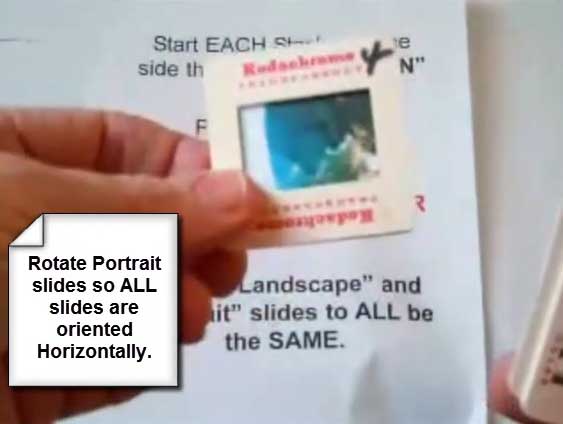
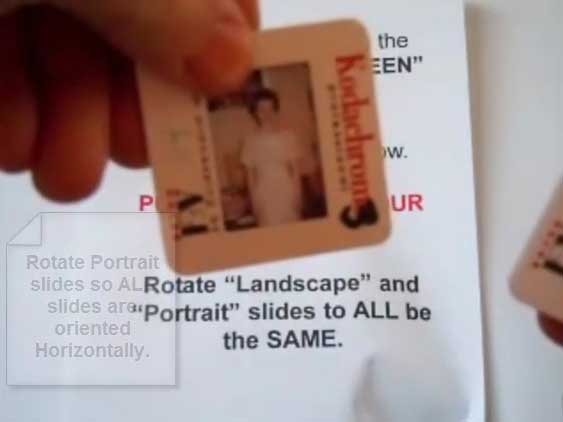
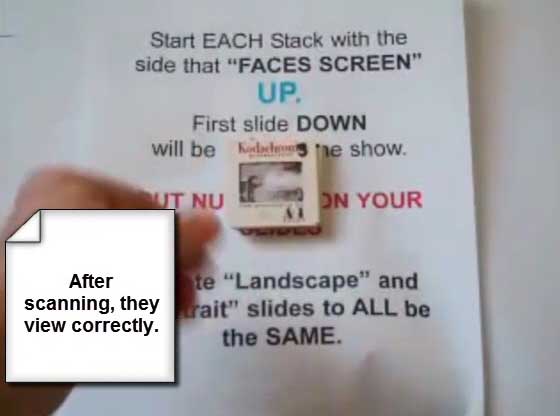
Portrait vs. Landscape: Rotate all portrait-taken slides so they lie in landscape within your stack. We’ll rotate final images to view correctly—this just ensures proper scanning.
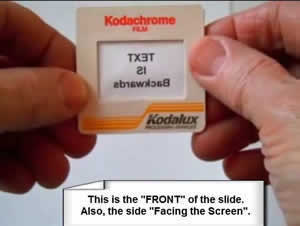


“THIS SIDE TOWARDS SCREEN” is the FRONT.
The photographer may have turned the camera on its side to take a portrait shot. In your stacks, rotate all portrait slides into landscape. Don’t worry—your final images will be rotated to view correctly after scanning.
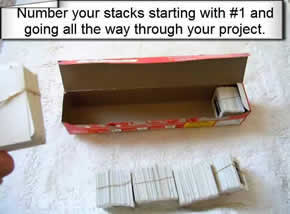
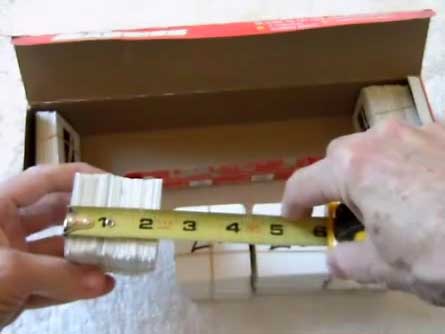
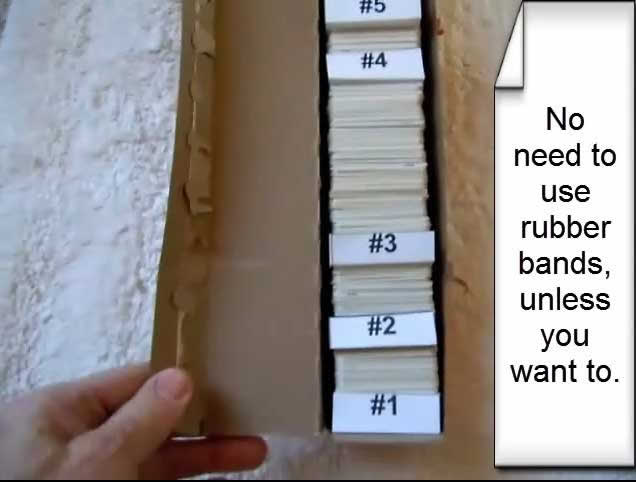
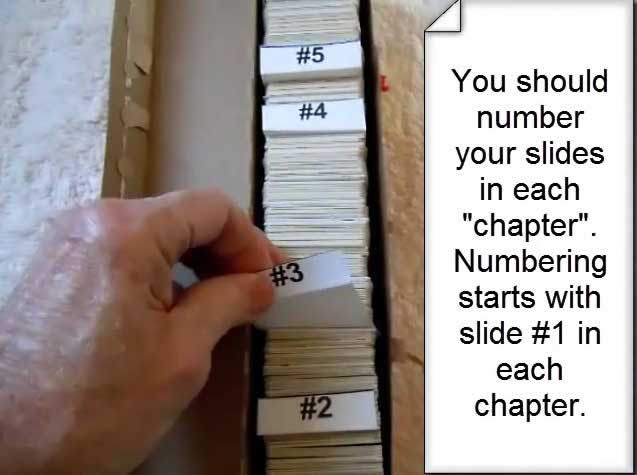
Simple Storage Helps
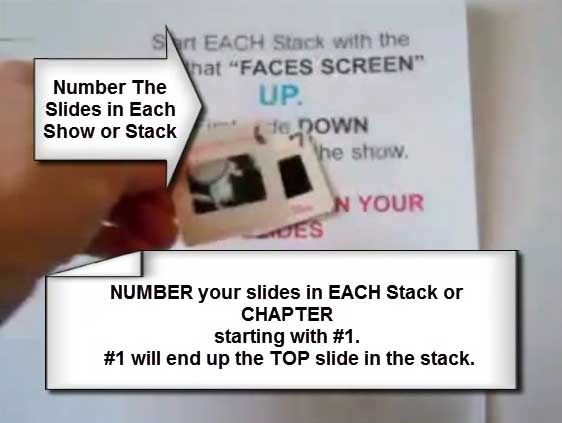
Wax paper, aluminum foil, or plastic baggie boxes are a perfect size to hold stacks. Use dividers to separate chapters. Number each slide starting at #1 for every chapter to preserve order on your digital folders.